How to Teach Procedural Writing Using Pic Collage
Kids love taking pictures and turning them into collages, am I right? Sooo, why not take that love and link it with some learning?! Pic Collage takes engagement to a WHOLE new level.
I have used Pic Collage in a dozen ways with my students… and funnily enough I have never actually used it for creating collages (the intended purpose of the app).
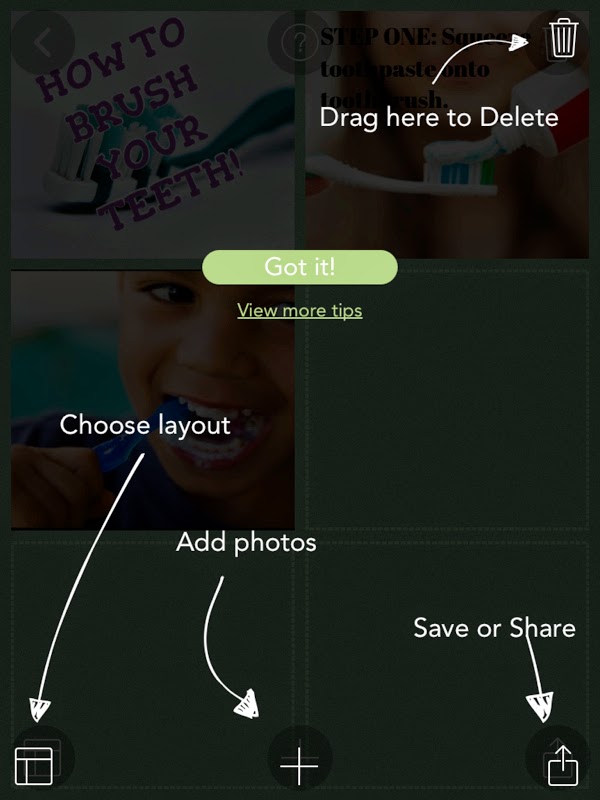
The layout options offered in this app make it really easy to get kids creating various media texts such as brochures, fliers, menus, posters, comics… and more. This is what I love most about the app…its versatility. I’m sure the app creator just wanted to give people a fun and easy way to design collages, but if you think outside the box, you can easily adapt the app to teach just about any subject! Another great feature? It’s super easy to use, making it great for kiddos in ANY grade!
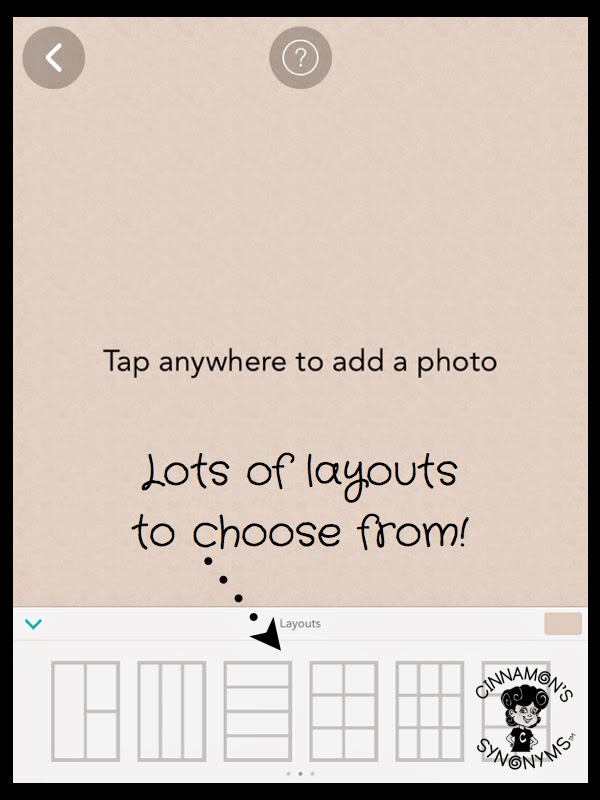
Step 1: Choose a layout
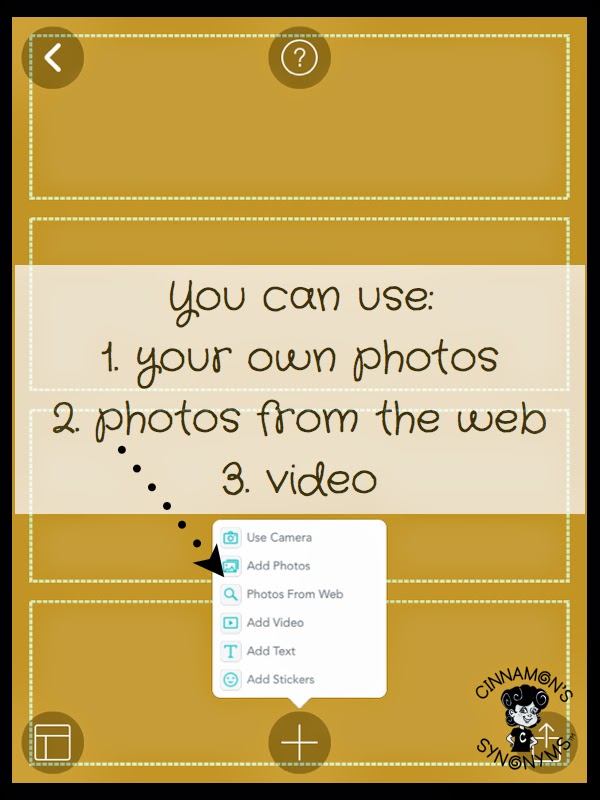
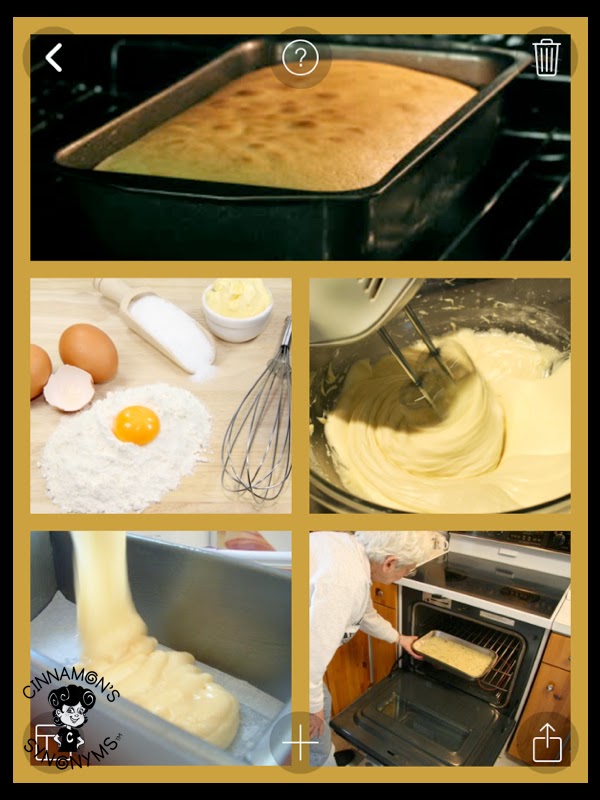
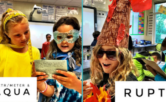
For this post, I will focus on how I use Pic Collage to teach procedural writing. Using this app to teach procedural writing was inspired by a student I had last year who absolutely HATED writing, BUT LOVED creating paper airplanes (and boy was he good at it!). Sooo… I thought… hmm… maybe I could get my kiddos to write a procedure on something they were passionate about and that they were an expert at (like building paper airplanes). I wanted an app that was easy to use and would keep my students engaged. The results were amazing! My class was focused and having fun while writing! They especially enjoyed taking pictures of all the steps in their procedure!
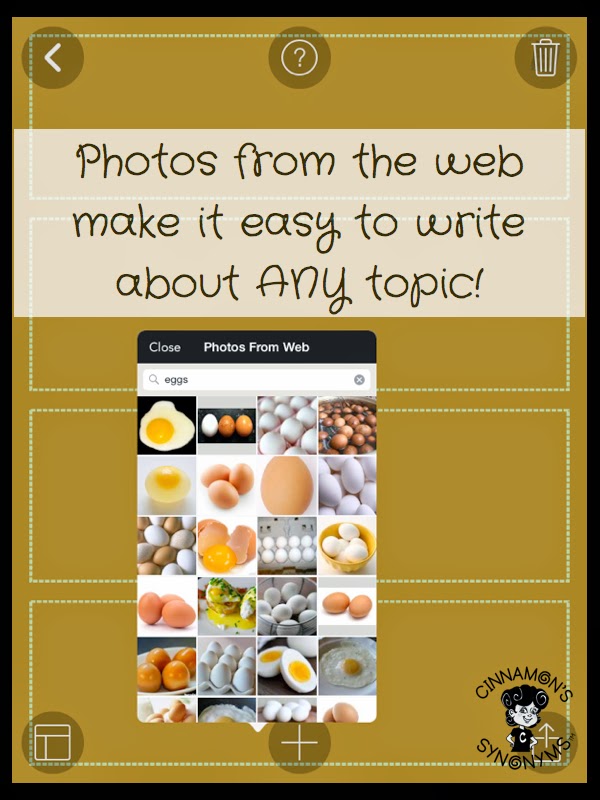
My students enjoyed bringing in their materials and taking pictures for their procedure, however, in some cases it was difficult for students to bring in certain objects (either because they were too big, valuable or fragile). In this case, using pictures from the web made it feasible for students to write about ANY topic they were passionate about!
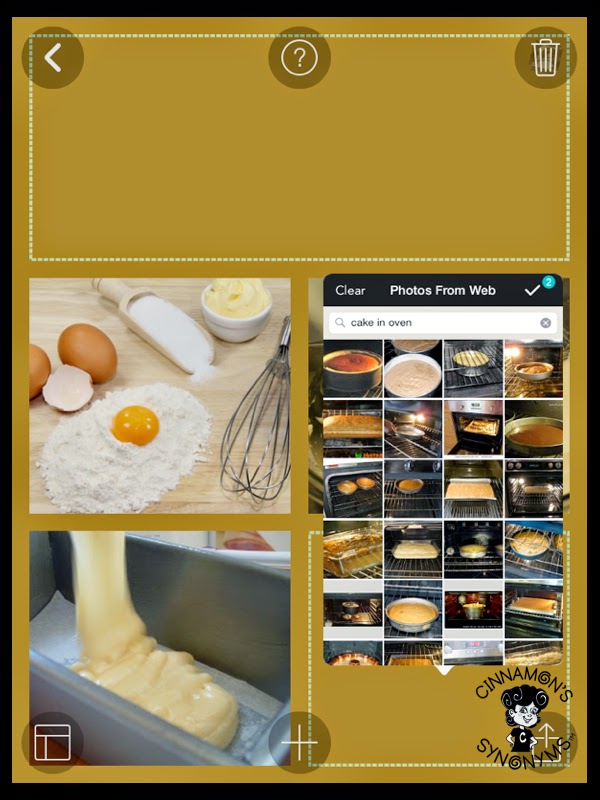
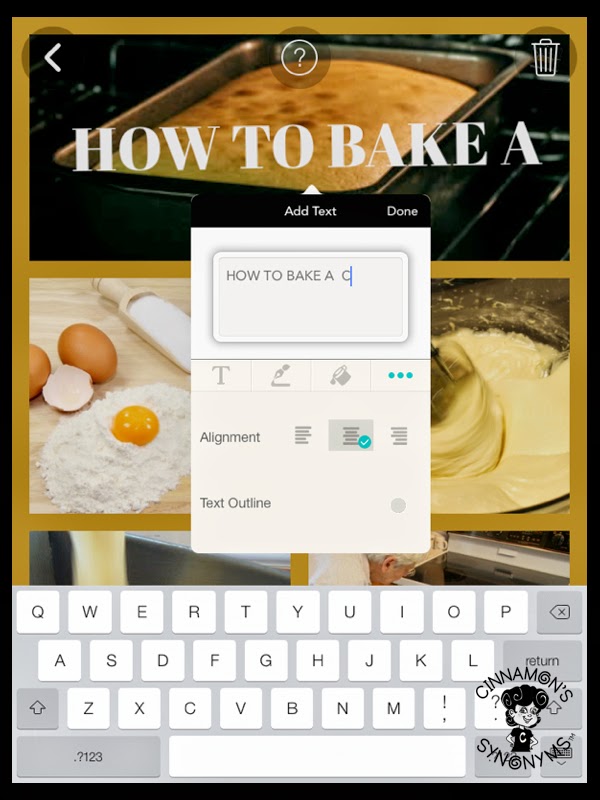
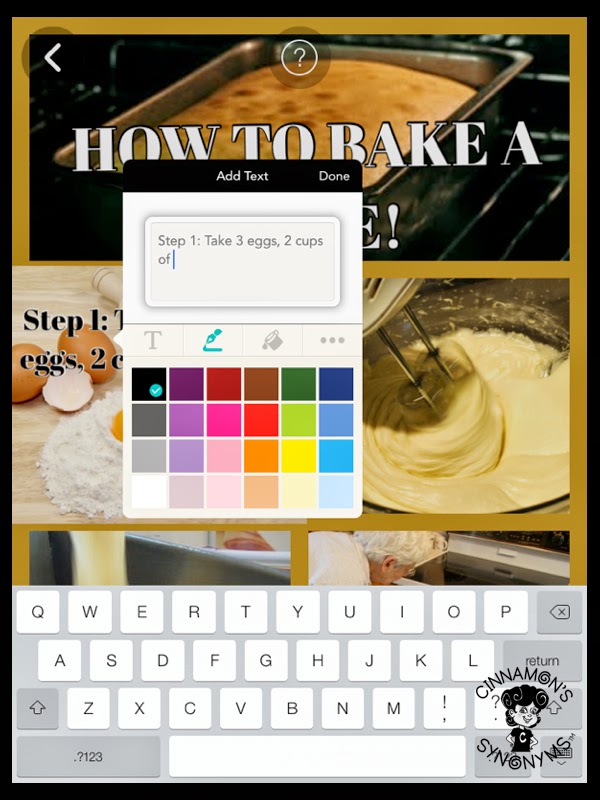
Step 3: Add the Procedural Writing
Quick Tip:
Conclusion:
This app is super easy to use and makes writing a bit more fun for reluctant writers. It is also a great tool for helping English Language Learners or students with special needs!

